Overview
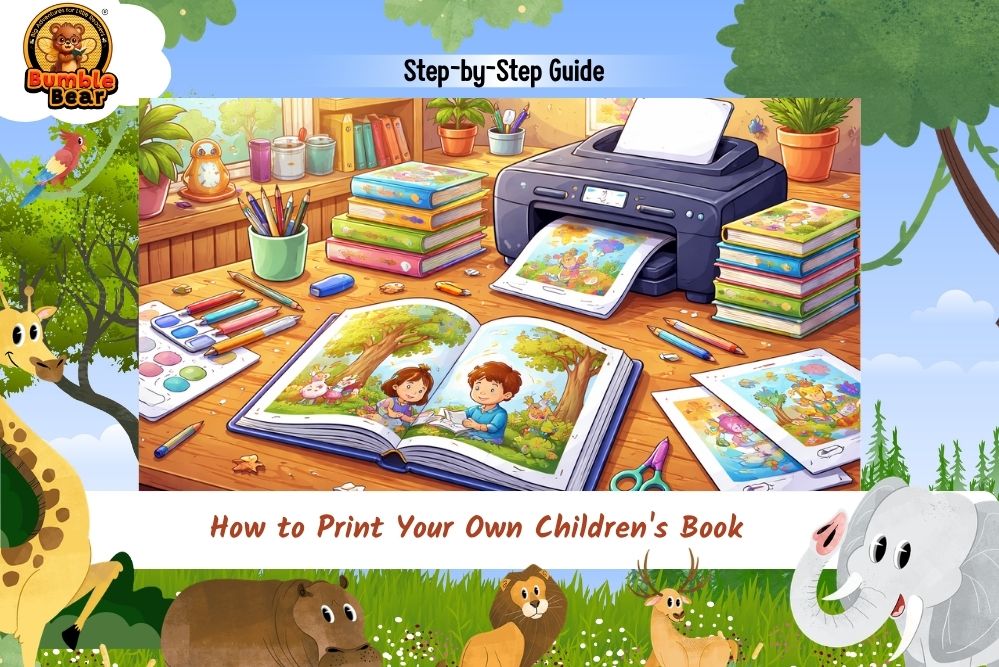
There is something magical about holding a children’s book you created yourself. The story that once lived only in your imagination suddenly becomes real pages, colorful illustrations, and a printed cover that children can hold, read, and love. That is why many writers, parents, teachers, and illustrators now want to print your own children’s book instead of waiting for traditional publishers.
The good news is that this process is much easier today than it was years ago. Whether you wrote a bedtime story, an educational picture book, or a fun adventure for young readers, you can now turn your idea into a professionally printed book step by step.
In this complete guide, you will learn exactly how to print your own children’s book, choose the right printing style, prepare your pages, select paper types, and understand what makes successful children’s books look polished and professional.
How to Print Your Own Children’s Book the Right Way
Learning how to print your own children’s book starts long before the actual printing process. Before sending files to a printer, you need to prepare the book carefully.
A children’s book depends heavily on:
- Story flow
- Illustrations
- Font size
- Page layout
- Print quality
Books for children are highly visual. A small formatting mistake can affect the entire reading experience.
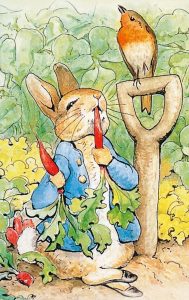
Think about famous kids books like The Very Hungry Caterpillar or Goodnight Moon. Their layouts feel clean, colorful, and easy for children to follow. That polished feeling comes from careful planning before printing begins.
Step 1: Finish Writing and Editing Your Story
Before exploring children’s book printing, make sure your story is completely finished.
Many first-time writers rush into printing too early. They later discover grammar mistakes, awkward sentences, or scenes that need improvement.
Read your manuscript several times. You can also:
- Ask parents or teachers for feedback
- Read the story aloud
- Test it with children
Children react honestly. If they lose interest quickly, the pacing may need improvement.
If you plan to print your own story book, editing is one of the most important steps.
Step 2: Choose the Right Age Group
Every successful children’s book targets a specific age range.
For example:
- Ages 0–3 → Board books
- Ages 4–6 → Picture books
- Ages 7–10 → Early readers
- Ages 10+ → Chapter books
This matters because page count, vocabulary, and illustration style all change depending on age. If you want to print your own children’s board book, your pages need thicker material and simpler wording for toddlers. Books like Brown Bear, Brown Bear, What Do You See? work beautifully for younger children because the text feels repetitive, visual, and interactive.
Step 3: Create or Hire Illustrations
Illustrations are often the heart of books for kids. Children connect with visuals before they fully understand words. That is why great illustrations matter so much in printing children’s books.
You can:
- Draw illustrations yourself
- Hire an illustrator
- Use digital illustration tools
Popular tools include:
- Canva
- Procreate
- Adobe Illustrator
Many authors now sketch rough concepts first and later refine them professionally.
Books like Where the Wild Things Are became timeless partly because of their emotional illustrations. Strong visuals help children stay emotionally connected to the story.
Step 4: Choose the Best Book Size and Layout
One of the most overlooked parts of custom children’s book printing is page size.
Children’s books are usually larger because illustrations need space to breathe.
Popular sizes include:
- 8.5 x 8.5 inches
- 8 x 10 inches
- 10 x 10 inches
Picture books often use square layouts because they feel visually balanced.
You should also decide:
- Hardcover or paperback
- Portrait or landscape format
- Matte or glossy pages
For colorful illustrations, glossy pages usually make images pop more.
Step 5: Understand the Best Font Size for Children’s Book Printing
Choosing the best font size for children’s book design is extremely important.
Children need clear and readable text. Tiny fonts can quickly frustrate young readers.
General recommendations:
- Ages 3–5 → 18–24 pt font
- Ages 6–8 → 14–18 pt font
- Early readers → Larger spacing and simple fonts
Fonts should feel playful but still easy to read.
Popular children’s book fonts include:
- Century Gothic
- Futura
- Arial Rounded
- Sassoon Primary
Avoid overly decorative fonts because they reduce readability.
Step 6: Prepare Print-Ready Files Properly
Before you print my children’s book, your files must be prepared correctly.
Most printers require:
- PDF format
- High-resolution images
- Proper bleed margins
- CMYK color mode
Low-quality images can appear blurry after printing.
This is one reason professional children’s book printing services carefully review files before production begins.
If this feels confusing, many authors hire formatting specialists for help.
Step 7: Decide Between Hardcover and Paperback
One big decision in hardcover children’s book printing is choosing the physical style of your book.
Hardcover Books
Hardcovers feel premium and durable. They work well for:
- Gift books
- Library books
- Keepsake stories
Paperback Books
Paperbacks cost less and are easier to distribute in large numbers.
Many bestselling children’s books exist in both formats depending on reader needs.
Books like The Gruffalo are commonly available in hardcover and paperback editions.
Step 8: Learn About Paper Types
Paper quality changes how your book feels in a child’s hands.
For kids book printing, common paper options include:
- Matte paper
- Glossy paper
- Thick board paper
- Coated paper
Board books use extra-thick pages because toddlers handle books roughly.
Glossy paper works well for bright illustrations, while matte paper feels softer and calmer for bedtime stories.
Paper choice strongly affects the final quality of printing a children’s book.
Step 9: Find Professional Printing Services
Now comes the actual printing stage.
When searching for printing near me, compare:
- Print quality
- Customer reviews
- Binding options
- Shipping times
- Pricing
Popular online printing companies include:
- IngramSpark
- Lulu
- Blurb
- Amazon KDP
You can explore them here:
Each platform offers different pricing and printing options depending on your goals.
Step 10: Order a Sample Copy First
Before printing hundreds of copies, always order one sample copy.
This helps you check:
- Color quality
- Font readability
- Binding strength
- Image placement
- Page alignment
Many first-time authors notice small mistakes only after holding the physical book.
A sample copy helps you fix those issues before final production.
This is one of the smartest decisions when learning how to get a children’s book printed professionally.
How Much Does It Cost to Print Your Own Children’s Book?
Printing costs depend on:
- Page count
- Hardcover or paperback
- Paper quality
- Book size
- Color printing
On average:
- Paperback children’s books → $3–$10 per copy
- Hardcover books → $10–$25 per copy
Board books usually cost more because thicker materials are required.
Custom illustrations also increase overall production costs.
Common Mistakes First-Time Authors Make
Many beginners make avoidable mistakes while trying to print your own children’s book.
Common problems include:
- Low-quality images
- Tiny fonts
- Poor page spacing
- Weak editing
- Wrong trim size
Children’s books need visual balance. Overcrowded pages can overwhelm young readers quickly.
Simple and clean layouts almost always work better.
BumbleBear Publishing Can Turn Your Story Into a Beautiful Printed Children’s Book
At BumbleBear Publishing, we understand how exciting it feels to finally hold your own children’s book in your hands. Our team helps authors, parents, teachers, and storytellers through every stage of children’s book printing. From formatting and illustrations to hardcover children’s book printing and custom layouts, we help transform ideas into professional books that children genuinely enjoy reading. Whether you want to print your own storybook for family memories or publish a large collection for bookstores, we guide you step by step. We focus on quality printing, child-friendly layouts, vibrant illustrations, and professional finishing so your story feels polished, engaging, and ready for young readers everywhere.
Final Thoughts
Learning how to print your own children’s book may seem overwhelming at first, but the process becomes much easier once you break it into steps. Start with a strong story. Focus on clean formatting. Choose illustrations carefully. Pay attention to paper quality, font size, and layout. Most importantly, take your time before final printing.
Children remember books visually and emotionally. That means every design choice matters.
Whether you are creating a bedtime story, educational picture book, or personal family keepsake, printing your own book allows your imagination to become something real children can hold, read, and treasure for years.
And honestly, there are few feelings more rewarding than seeing a child smile while reading a book you created yourself.
Frequently Asked Questions
How can I print your own children’s book professionally?
You can use professional printing platforms like IngramSpark, Lulu, Blurb, or Amazon KDP. Make sure your files are properly formatted before printing.
What is the best way to print a children’s book?
The best method depends on your goals. Hardcover printing works well for premium books, while paperback printing is more affordable for larger distribution.
How much does it cost to print your own children’s book?
Costs usually range from $3 to $25 per copy depending on size, binding type, page count, and paper quality.
What size is best for a children’s picture book?
Popular picture book sizes include 8.5 x 8.5 inches and 8 x 10 inches because they allow larger illustrations and balanced layouts.
What paper type is best for children’s books?
Glossy coated paper works best for colorful illustrations, while thicker board paper is ideal for toddler books and board books.